

The journey to getting a Zen Float Tent
I’ve recently purchased a Zen Float Tent. Like I have mentioned in my previous post there has been much contemplation about getting this tent. When I first heard about the Kickstarter I was a bit skeptical of the quality and design of the tent. I was familiar with the Samadhi Tank, Escape Pod, various pods and rooms all of which are of high build quality. I decided that I was going to wait until the tent had been used and reviewed before I would purchase one. This Summer I decided that the Zen Float Tent was right for me and when I was on a drive from Florida to St. Louis while looking on Facebook I noticed a post from Jeremy at Escape Pod Tank saying he had one for sale. Naturally this was the perfect opportunity so I ended up purchasing the tent from him.
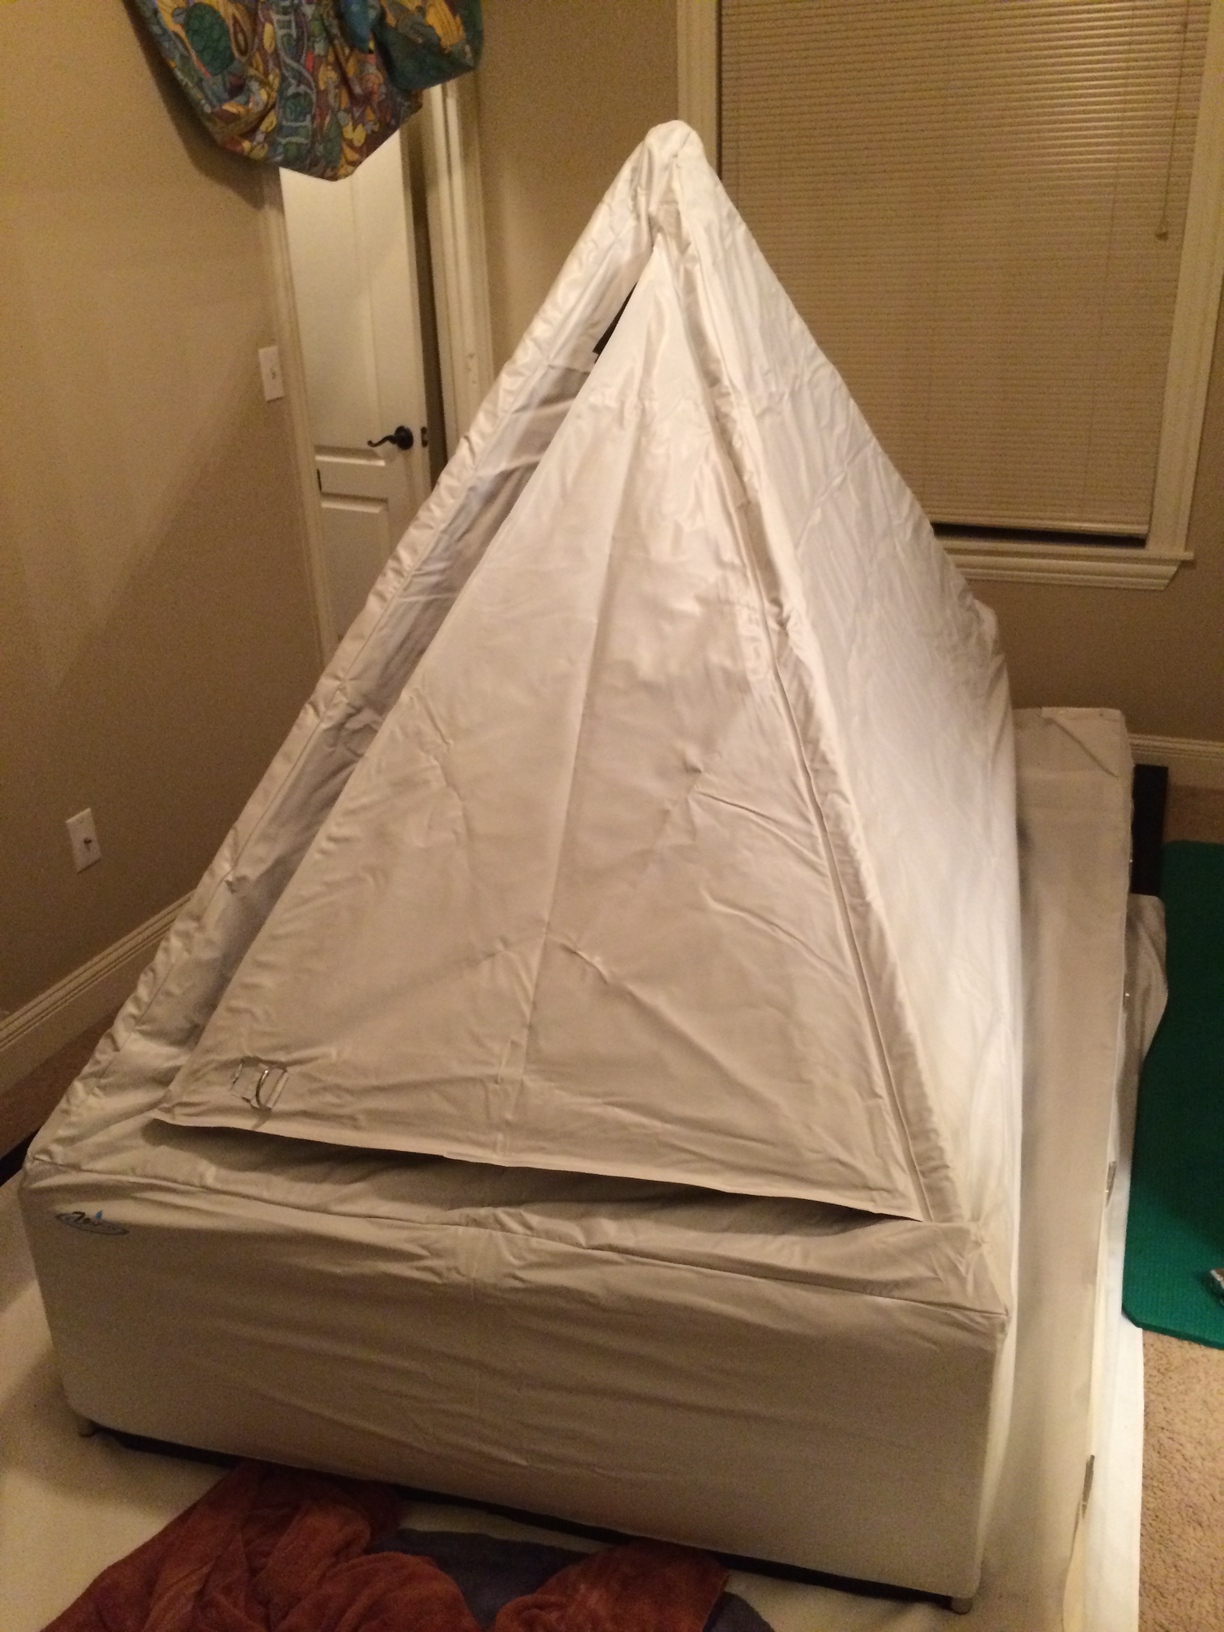
Installation of the Zen Float Tent
Surprisingly the Zen Float Tent was not terribly difficult to setup. My situation was a bit unique because I custom build a base and a filtration system for the tent but overall it took about a weekend to get it all up and running. There are some great YouTube videos online that show you how to set it up and the instruction manual was informative.


Click photo to enlarge
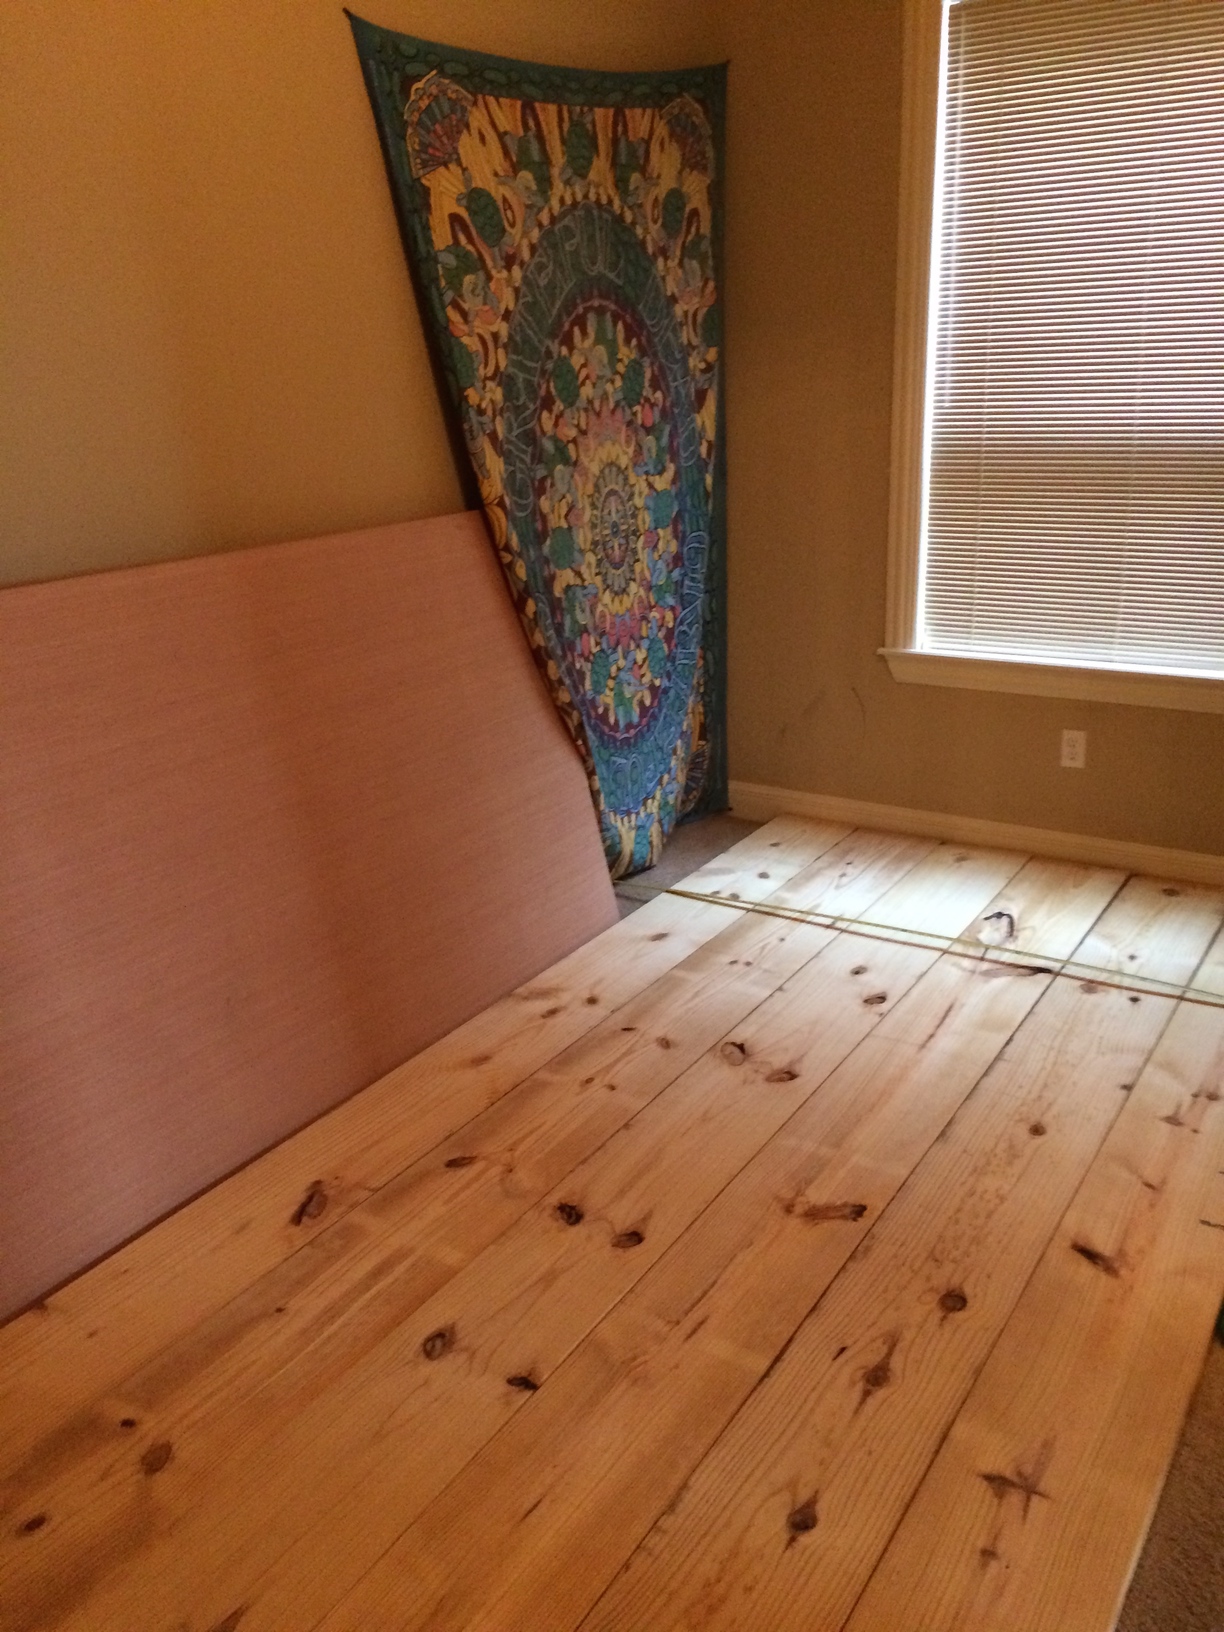
Platform
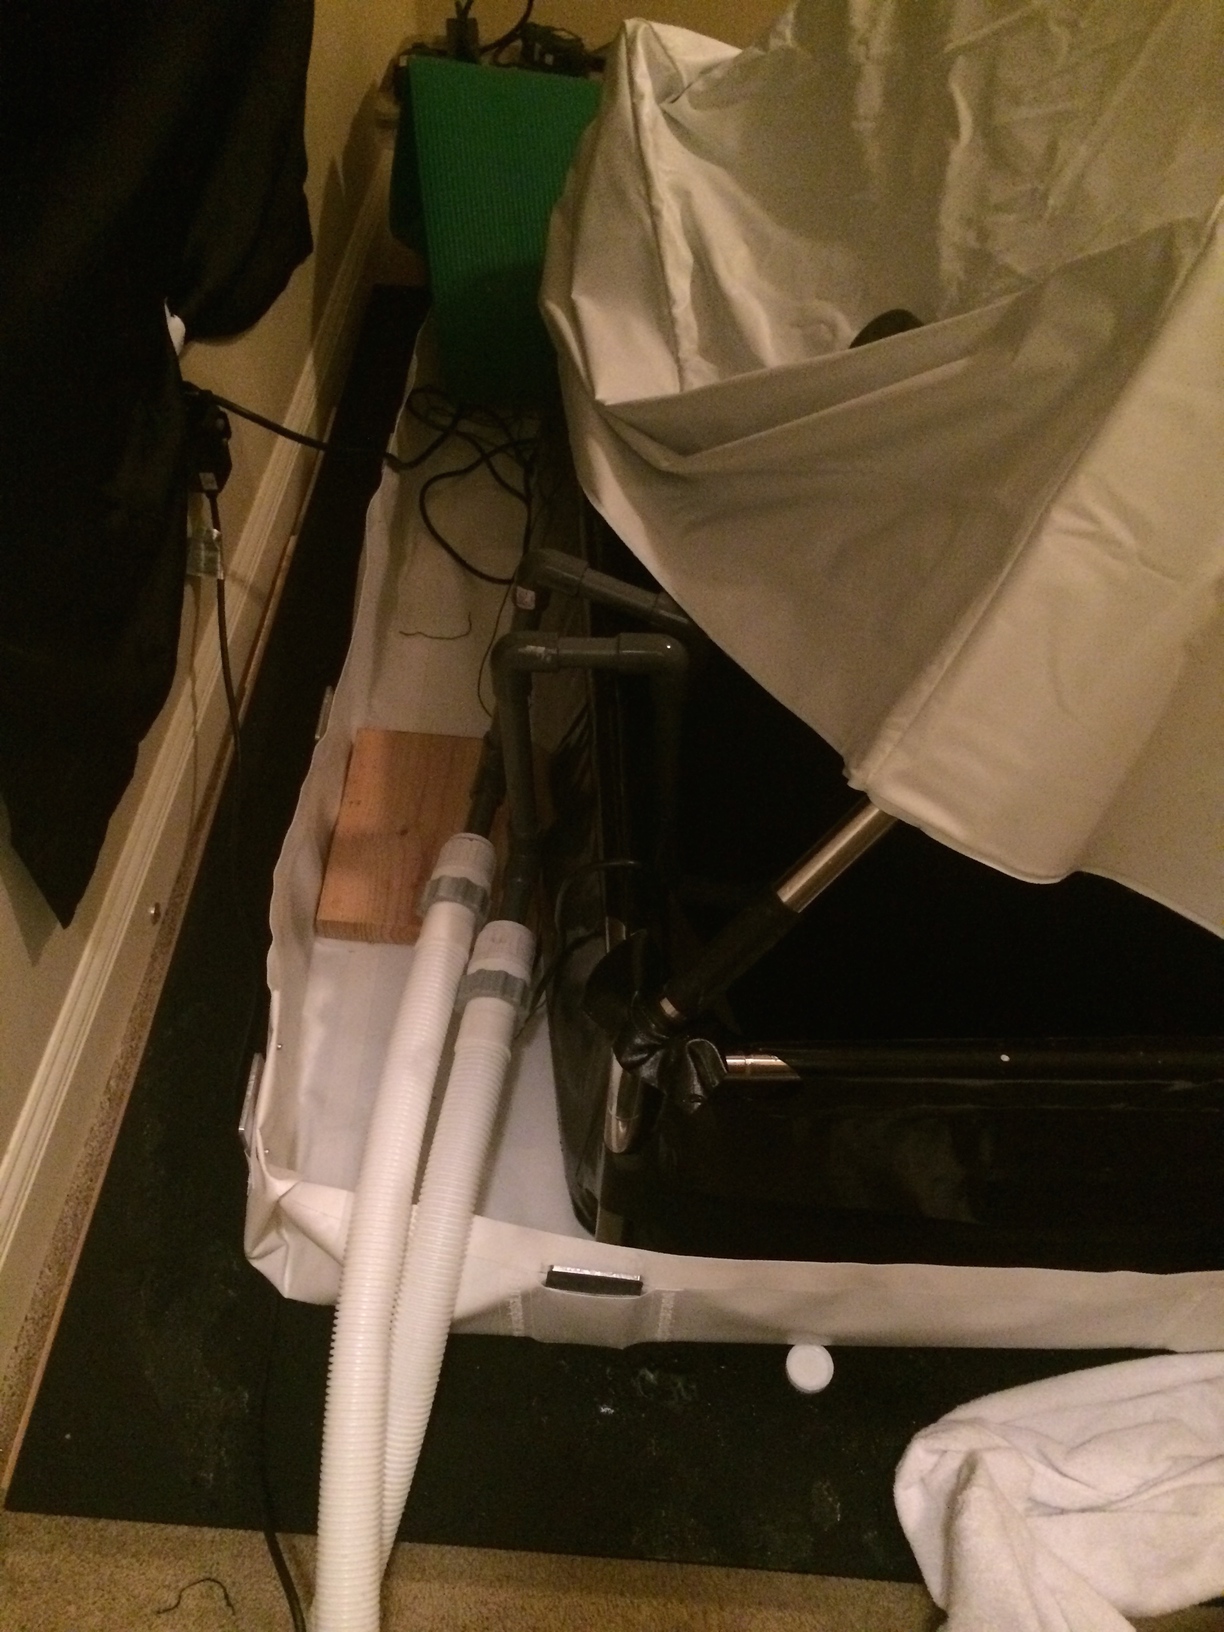
The process started with the base which consisted of six 12”x2” pieces of wood from Lowe’s. This would help with absorbing some sound and distribute the weight across the floor. On top of the wood platform there is a thin piece of plywood to make a smooth surface. On top of the plywood are three 6’x4’ pieces of sound absorbing rubber purchased from Acoustical Surfaces. This is to ensure that the tent is completely soundproof especially from vibrations traveling through the floor. The main sounds that seem to travel into the tank are vibrational such as door slams and people walking. When the base was complete it covered 12 feet by 6 feet which fits perfectly in the room (even allowing space for a yoga mat).
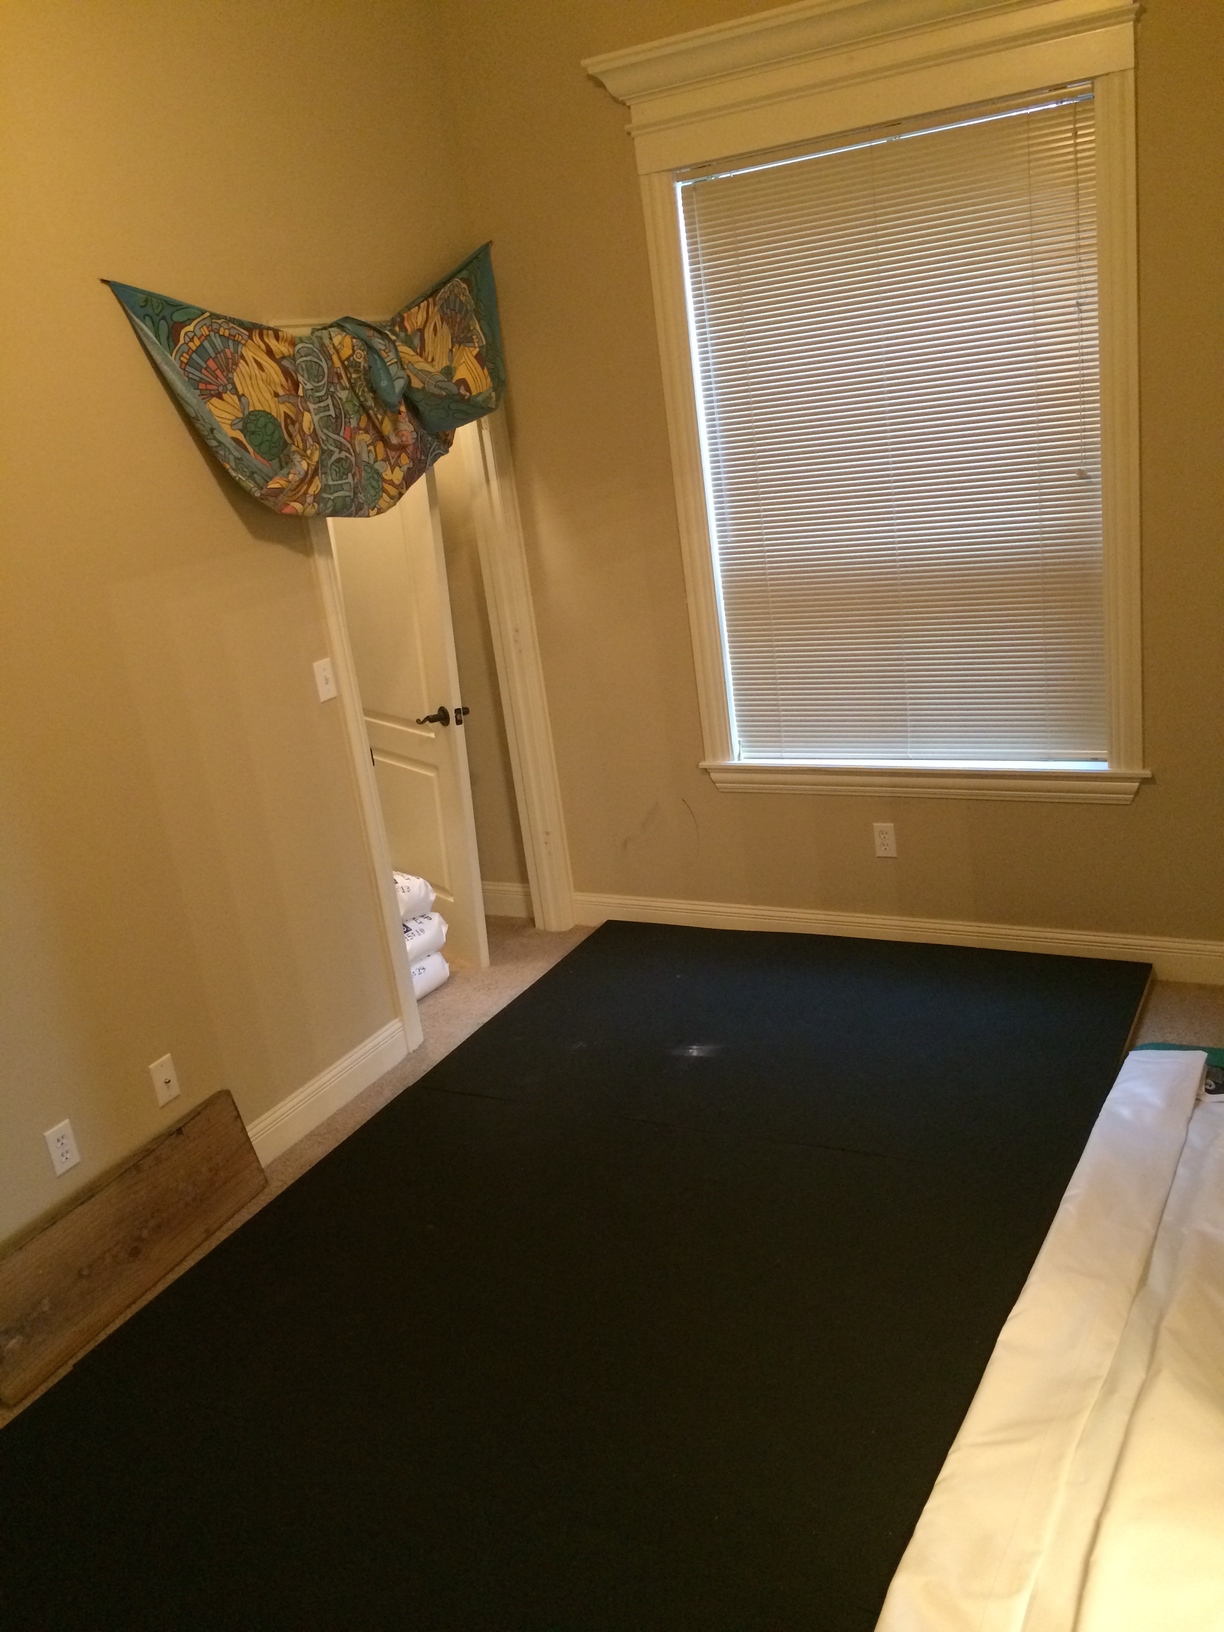
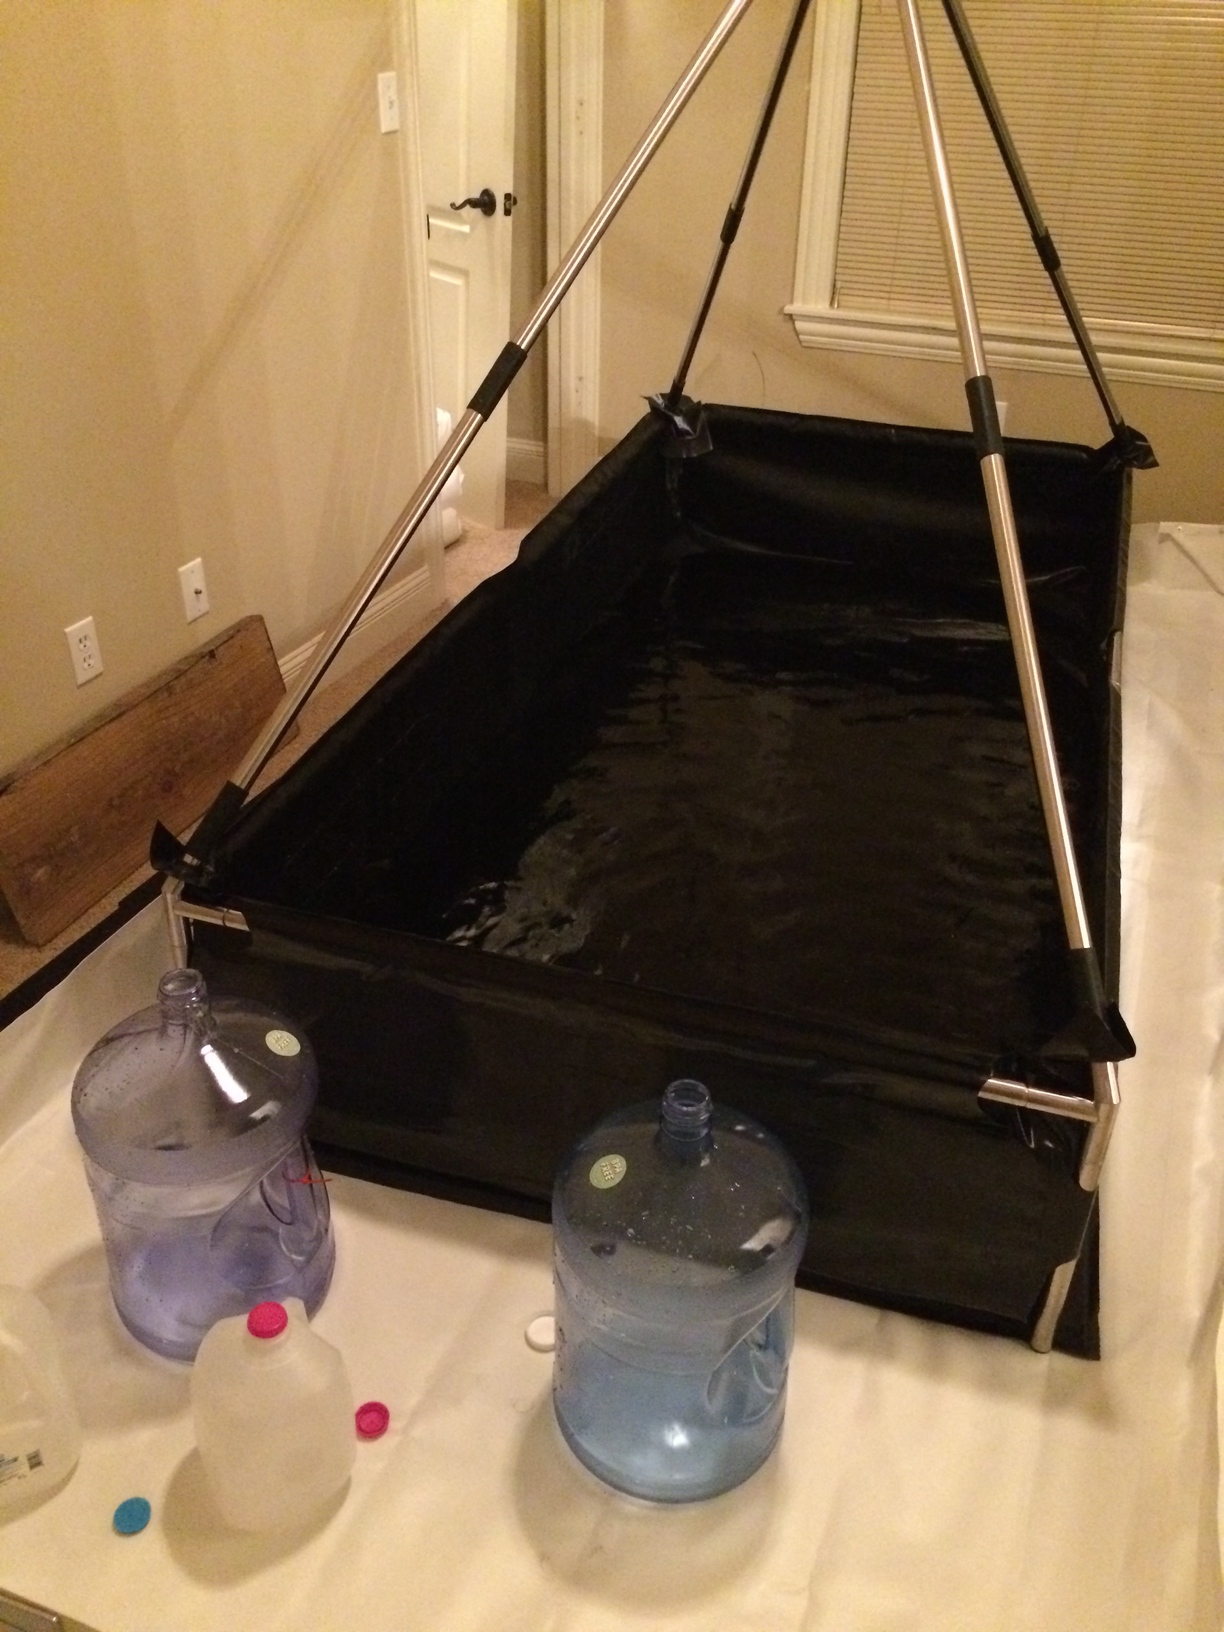
Spill Berm
Then the spill berm was setup on top of this platform. The spill berm was designed for industrial spills including harmful chemical spills. This seemed to be the perfect device to catch any excess water or if the tent leaked. I had a white (epsom salt is harder to see on white) custom made spill berm that was 11’x5’ that will ensure plenty of space for the 8’x4’ tent. Also having this much space allowed me to make the tent go across the wood beams diagonally to keep the weight distributed across multiple beams (5-6 beams instead of 4).
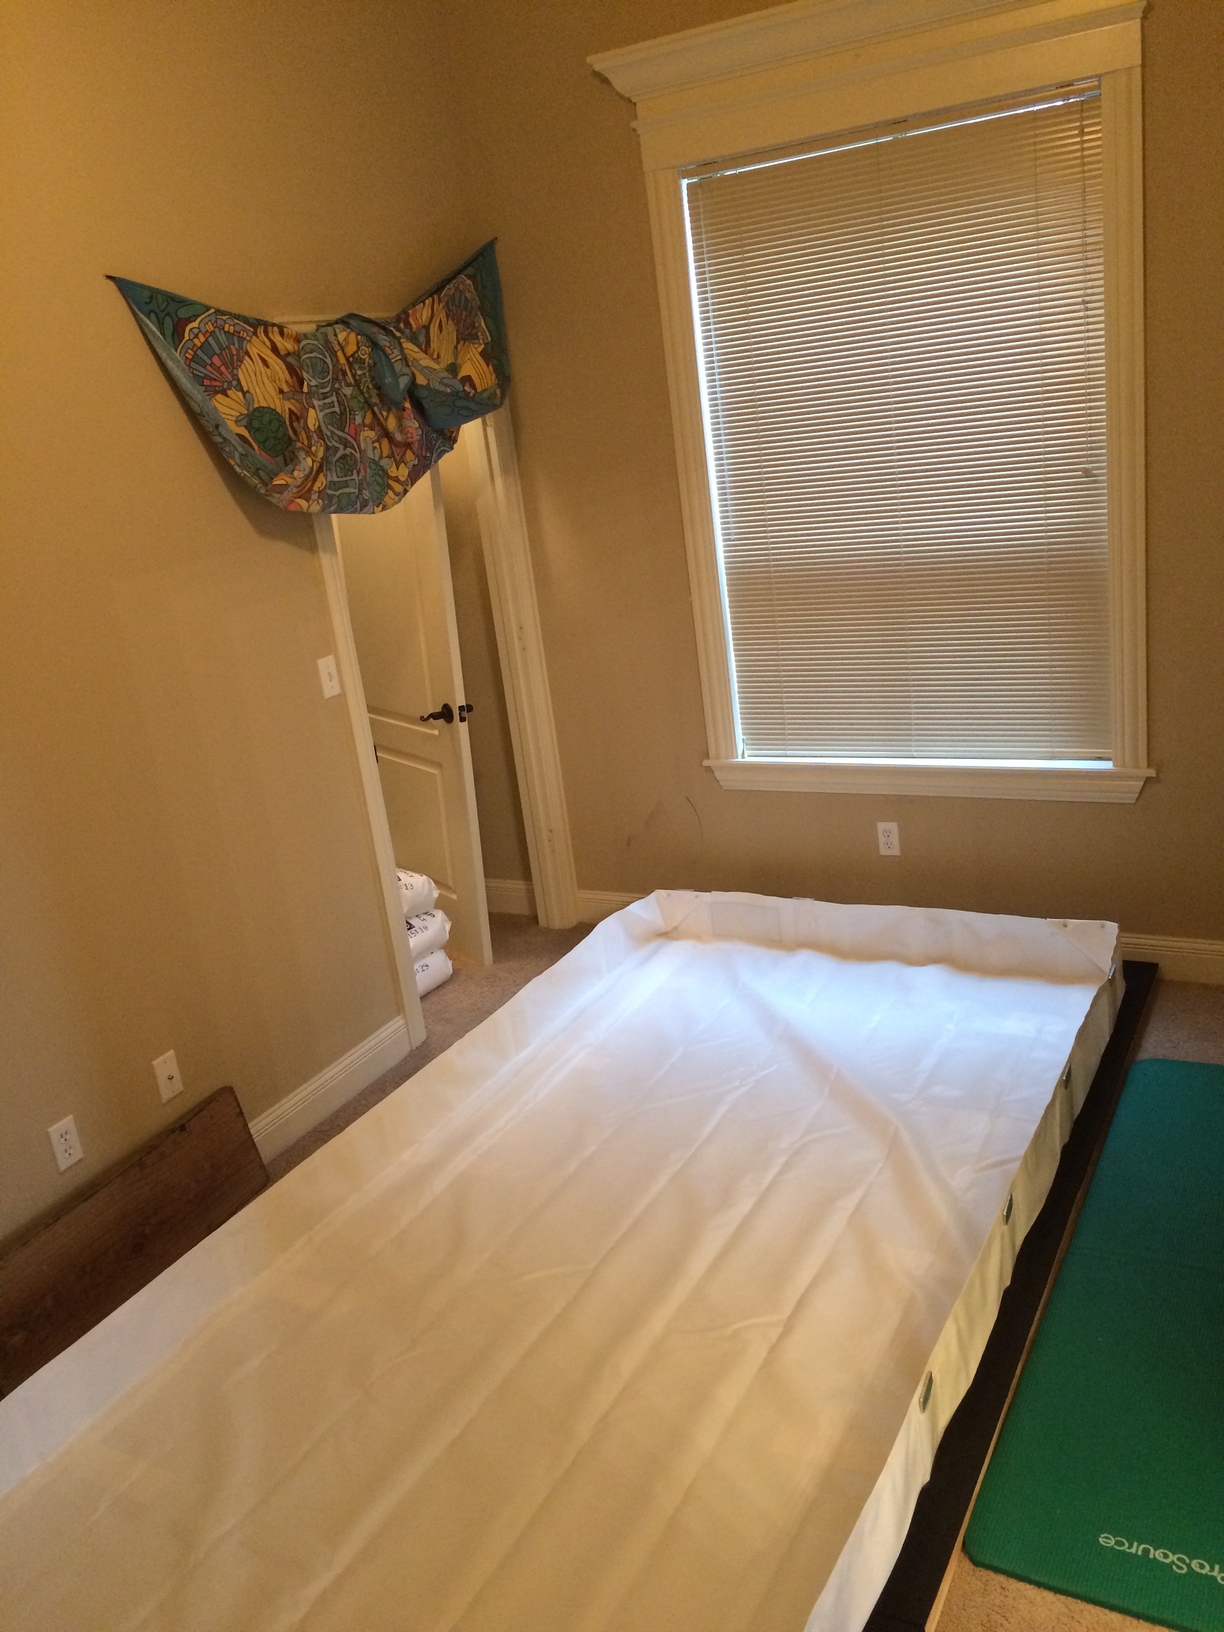
Water
After the berm was setup it was time to install the tent which you can see the process in the photos above. This was a fairly easy process which consisted of placing metal rods into the vinyl and then connecting the pieces. After all the rods were in place I started filling the tent with reverse osmosis water. You might wonder why I filled the tent with reverse osmosis water and not just tap water. I did this because there can be some heavy metals such as iron in the water supply and also chlorine and other chemicals which I don’t want in the tent.
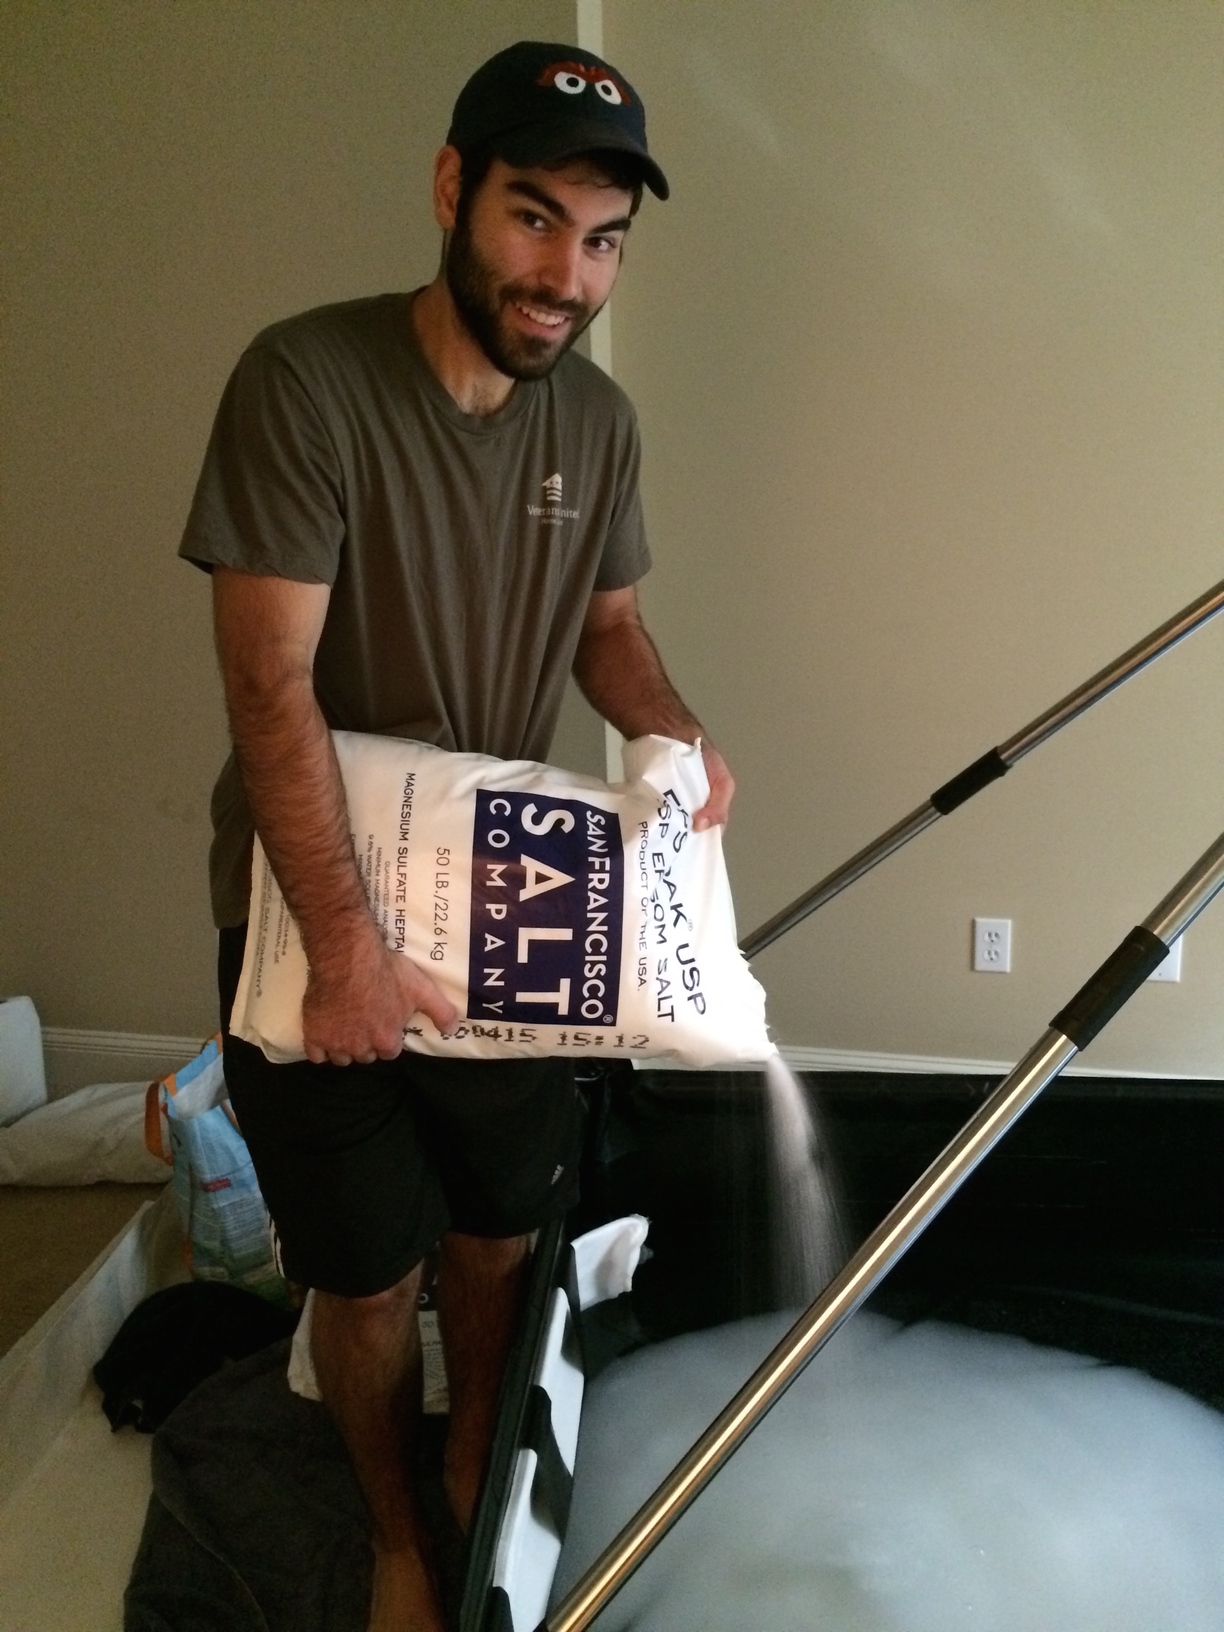
Epsom Salt
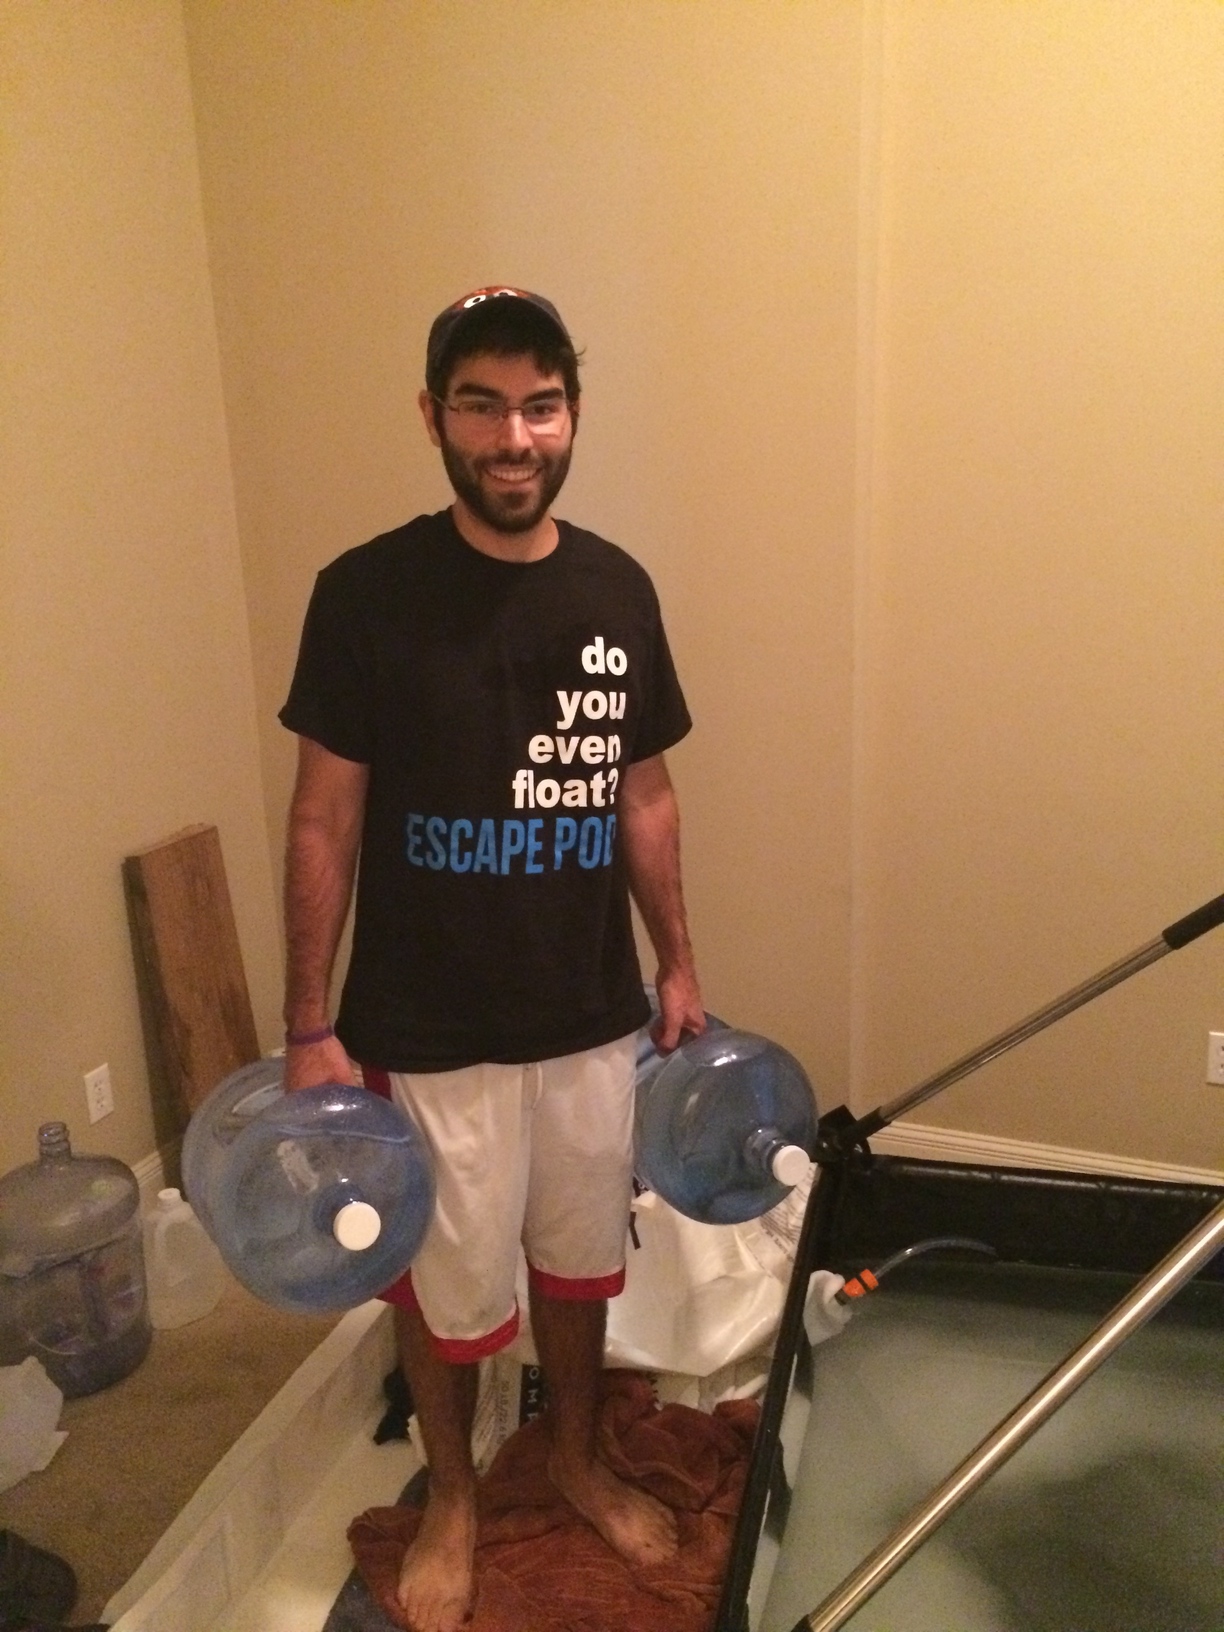
Finally it was time for the Epsom salt which I purchased from Sf Salt Co. They have really good prices on bulk Epsom salt and they also were at the Float Conference this year. I ended up purchasing 1,100 lbs from them which arrived on a pallet in individual 50lb bags. As of this blog post I have around 635lbs of Epsom salt and about 115 gallons of water in the tent.
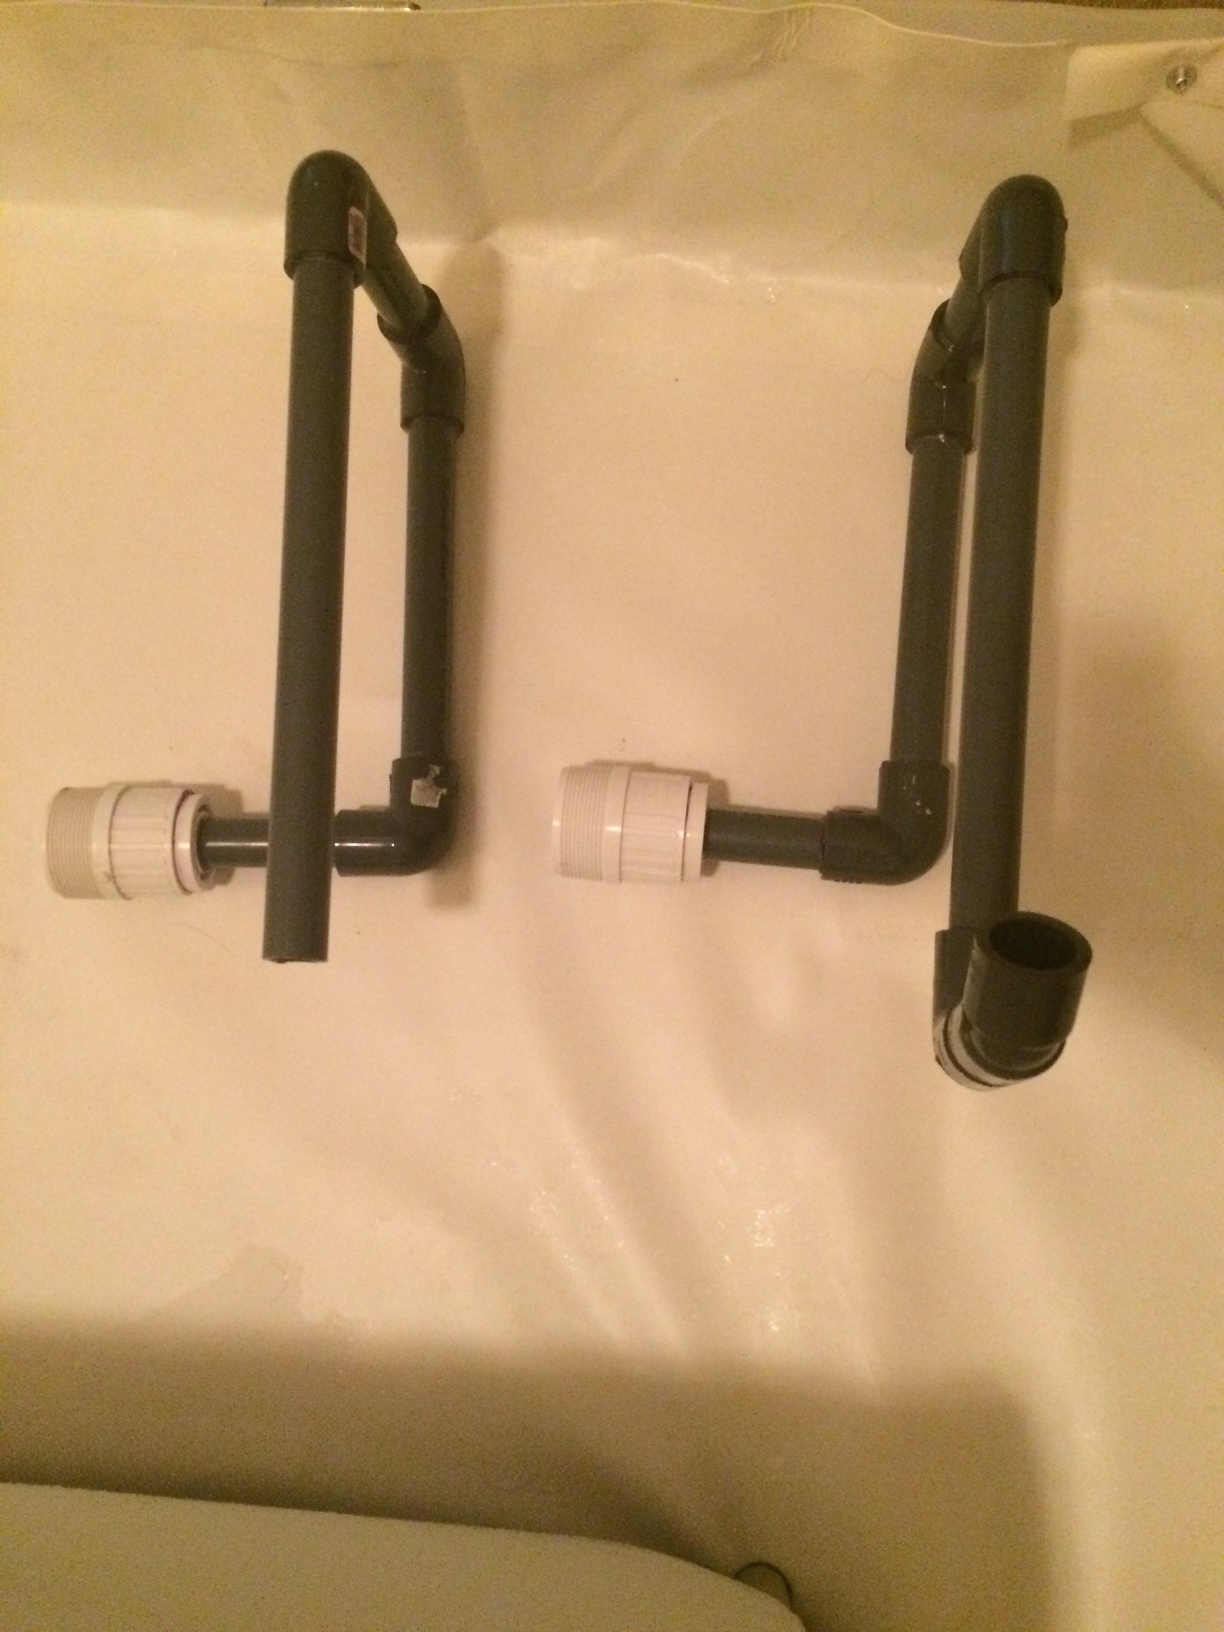
Custom Filtration System
I also decided to make a custom filtration system that would supplement the tent’s standard filter system. I purchased an Intex pool pump from Amazon and bought some PVC piping that would fit into the Intex system. When it was all said and done the pump worked great and is run for 30+ minutes after each float. This is to help ensure the water stays clean and can help speed up the time it takes to heat up the water.
Summary
I’m extremely satisfied with the Zen Float Tent thus far. I would recommend it to anyone looking to buy a float tank for their home. The material quality is top notch and it does a pretty good job of light proofing. Also I would recommend purchasing 35% hydrogen peroxide and a shammy to wipe down the tent before getting into it. The base I made is not a necessity but it seems to make sense especially if you are not putting this in a basement of a quiet home. If you have any questions please leave a comment below. Also there is a form now to sign up for the newsletter, check it out!!